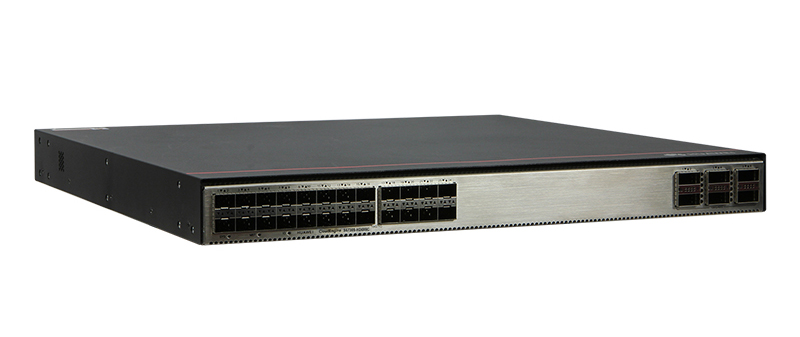


Follow these simple best practices to set up a new network switch.
Similar to learning how to ride a bicycle, no one is born with the knowledge of how to set up a network switch. Setting up a network switch is a bit more complicated than setting up your home Internet or a plug-and-play switch. However, with proper guidance, a positive attitude, and a bit of courage, even inexperienced IT professionals can incorporate a new Cisco switch into their business environment. To make it easier for you, we have divided the task into simple steps so that you can successfully create client VLANS, establish DHCP systems, and assign access ports without any difficulties.

Step 1: Inspect your hardware
Please make sure to look at the model number of your new switch. Or, if you are using a spare, check the device hardware and the cables connected to it for any damages. If everything looks good, turn on the switch and make sure that all the indicator lights are working. Next, use a rollover cable to connect your computer to the switch. To do this, you will need to download and install Putty (or a similar software tool with a fun name). Open Putty and choose the 9600 speed serial connection. Now you are connected to the switch and ready to see the output of the following commands:
show version
show running-config
show VLAN brief
show VTP status
(config)#IP domain-name routerfreak.com
(config)#hostname Switch01
(config)#interface VLAN1
(config)#description Management VLAN
(config)#IP address 192.168.101.1 255.255.255.0
vtp [client | server | transparent]| server | transparent]
vtp domain name
description *** DESCRIPTION ***
switchport access vlan###
sswitchport mode access
power inline consumption###
queue-set 2
mls qos trust dscp
storm-control multicast level 50.00
no cdp enable
spanning-tree portfast
spanning-tree bpduguard enable
Interface GigabitEthernet1/0/1
description *** UPLINK ***
switchport trunk encapsulation dot1q
switchport mode trunk
speed 1000
duplex full
Switch01(config)#crypto key generate rsa
The name for the keys will be:
Switch01.routerfreak.com
How many bits in the modulus [512]: 1024
% Generating 1024 bit RSA keys, keys will be non-exportable...[OK]
#line vty 0 4
(config-line)#transport input ssh
(config-line)#login local
(config-line)#password routerfreak
(config-line)#exit
#line console 0
(config-line)#logging synchronous
(config-line)#login local
Switch01#service password-encryption
remote-computer#ssh 192.168..101.1
Log in as: username
Password:
Switch01>en
Password:
Switch01#
For spare switches, make sure to delete the flash:vlan.dat file to erase the previous configuration.
Step 2: Set up management IP
When you set up the name for your home Wi-Fi network, you can be creative and use a funny name. However, when it comes to setting up the name for your switch, it is better to follow a more professional and standard way of naming. You should use the naming convention that your company has already established and then assign an IP address on the management VLAN. Additionally, make sure that your switch has a specific hostname and domain name.
Step 3: Check VTP revision number
To check your Virtual Trunking Protocol (VTP) revision numbers, use the show vtp status command. These revision numbers determine which updates are used in a VTP domain. When you assign a VTP domain name, the revision number is set to zero. Each change made to the VLAN database increases the revision number by one. Your switch will only process data from a neighboring switch if it comes from the same domain and has a higher revision number. This means that switches will update their VLAN configuration based on the VTP information sent by the switch with the highest revision number.
Before adding your switch to the network, you should set its revision number to zero. To easily reset the domain to zero, switch the config mode to transparent.
Step 4: Configure access ports
If you don't already have a pre-made template for access port configuration, here are some commands that you can use:
Step 5: Configure trunk ports
Enter the command sh int g0/1 capabilities and see which trunking protocol is supported. If ISL is supported, then you need to use the command "switchport trunk encapsulation dot1q" for the trunk port configuration. If ISL is not supported, just use the command "switchport mode trunk". This means that there are no other supported encapsulations, so there is no need for an encapsulation command. It only supports 802.1Q.
Step 6: Configure access ports
After completing the initial setup of the network switch, it is now necessary to create RSA keys for the SSH process. This can be done by following the given crypto commands:
When generating General Purpose Keys, you can select a key modulus size between 360 and 2048. Keep in mind that choosing a modulus size greater than 512 may require a few minutes.
Step 7: Set up VTY line config
If you haven't set up the console line yet, you can easily enter these values:
To set the enable password, use the command "enable secret password". Then, set the privilege exec password with "username name privilege 15 secret password". Make sure to activate the password-encryption service.
To check SSH access, type "sh ip ssh" to confirm that SSH is enabled. You can now attempt to log in from a remote device to make sure you can ssh to your Cisco switch.
Finishing touches
You have successfully completed the learning process with (hopefully) few difficulties, and you are almost ready to start. The only things remaining are to check your access, restart the switch, and prepare the cables. After completing these tasks, label your switch, mount it on the rack, and go enjoy doing anything that doesn't require switch configuration!
Still fuzzy?
If you'd like further assistance, or have more devices to configure, please contact us online www.hi-network.com (Email: [email protected]).
Shop business switches at: https://www.hi-network.com/categories/cisco/cisco-switches
 Hot Tags :
network
switches