Register now for better personalized quote!

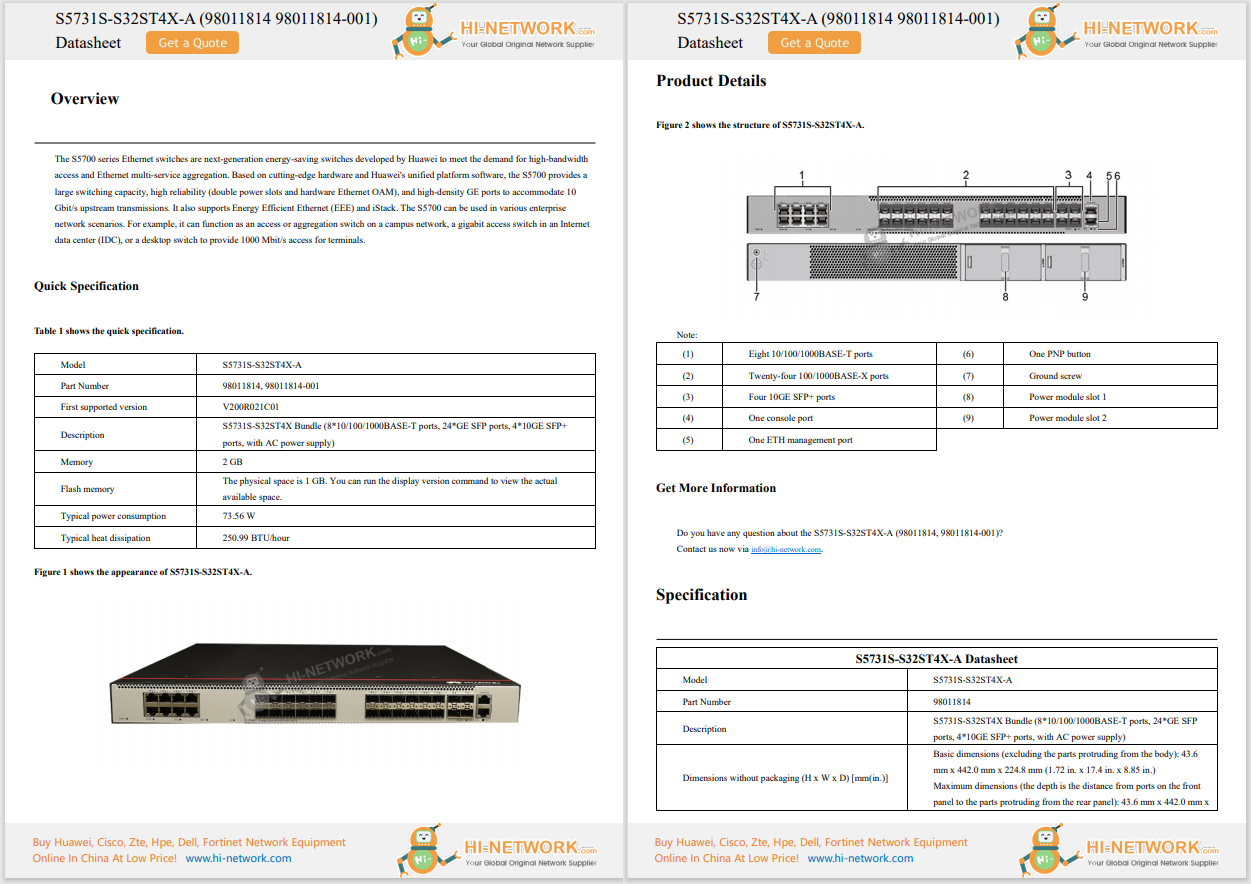
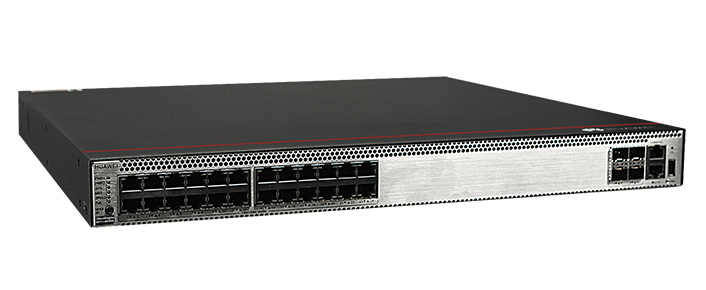


 Screenshot by
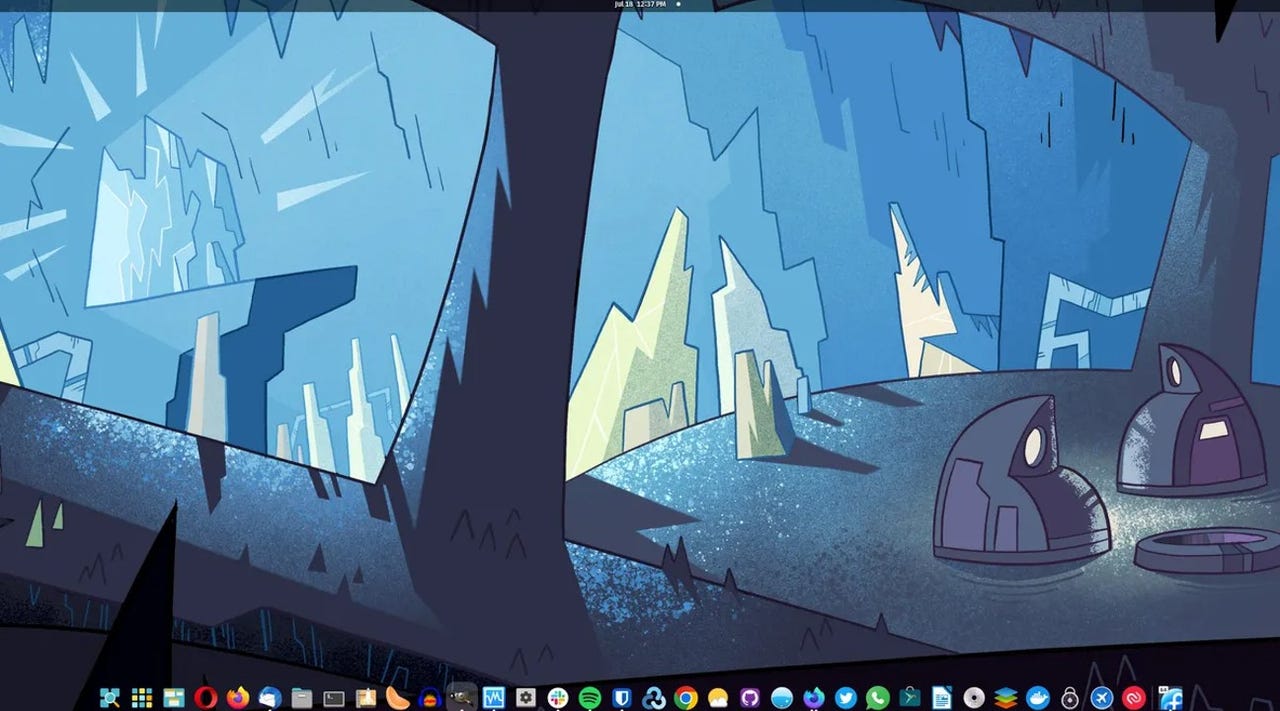
 I have a two-monitor setup with Pop!_OS Linux. When my cursor is on my main monitor, it's always easy to find.
However, when the cursor moves to the secondary monitor, things get a bit tricky.
Part of this is because my second monitor is considerably smaller than the primary (and is only used for smaller-footprint applications, such as Spotify and Slack).
When I shift the cursor to the secondary monitor, sometimes it's just too hard to find and I wind up having to move the mouse around until the cursor becomes obvious.
Also: The best Linux distros for beginners
Although not a deal-breaker, that small issue can get very frustrating at times. Fortunately, GNOME-based desktops (such as those found on Pop!_OS, Ubuntu, and Fedora) have a configuration option that makes it very easy to find the pointer -- even when your desktop is filled with applications.
Let me show you how to enable and use the feature.
The only thing you'll need for this is a Linux desktop based on GNOME. I'll demonstrate on Pop!_OS Cosmic desktop but the feature also works on Ubuntu and stock GNOME (such as that found on Fedora). That's all you need. Let's find that pointer.
From either your desktop panel, menu, or GNOME Application Overview, open the Settings application.
In the Settings sidebar, scroll down until you see Accessibility and click that entry.
Under the Pointing & Clicking section, click the ON/OFF slider for Locate Pointer to ON. Once you've done that, close Settings.
Enabling Locate Pointer in the GNOME Settings tool.
Screenshot by Jack Wallen/You can also enable the feature from the command line. To do that, open a terminal window and issue the command:
gsettings set org.gnome.desktop.interface locate-pointer true
Close the terminal window and you're done.
To use the Locate Pointer feature, click the CTRL key on your keyboard and a pulse of circles will appear around your pointer to show you where it is.
Click CTRL and an animated circle will appear around your pointer.
Screenshot by Jack Wallen/And that's all there is to it. If you're like me and are constantly trying to find your pointer in a mass of open applications and multiple windows, this feature will save you from a lot of squinting and mouse jiggling. I've come to depend on this feature daily and it's made my Linux desktop life considerably easier.
Also: The PC is getting weird again - and that's exactly what we need
 Hot Tags :
Services & Software
Open Source
Hot Tags :
Services & Software
Open Source
Register Email now for Weekly Promotion Stock
100% free, Unsubscribe any time!
Add 1: Room 605 6/F FA YUEN Commercial Building, 75-77 FA YUEN Street, Mongkok KL, HongKong Add 2: Room 405, Building E, MeiDu Building, Gong Shu District, Hangzhou City, Zhejiang Province, China
Whatsapp/Tel: +8618057156223 Tel: 0086 571 86729517 Tel in HK: 00852 66181601
Email: [email protected]
 English
 Pусский
 Français
 Español
 Português