Register now for better personalized quote!

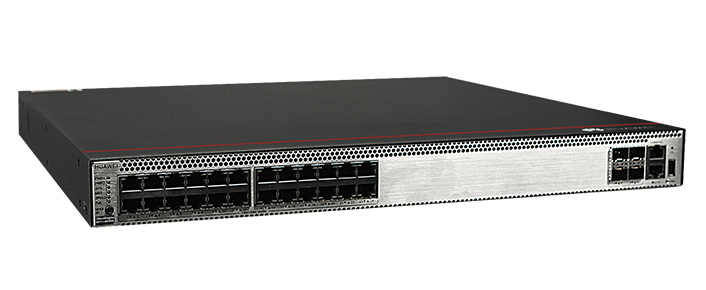
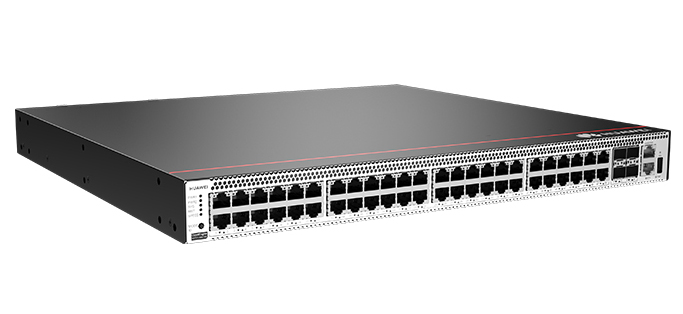
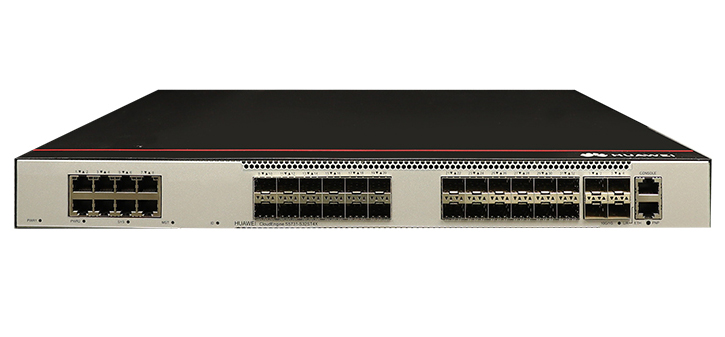
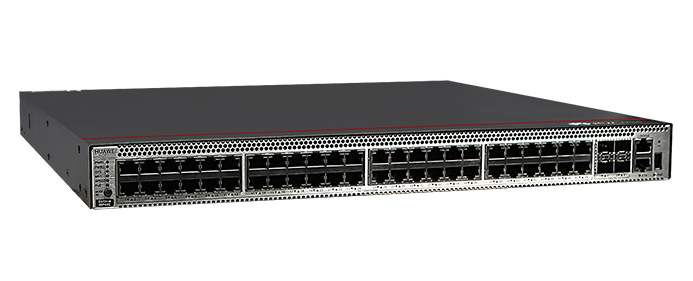
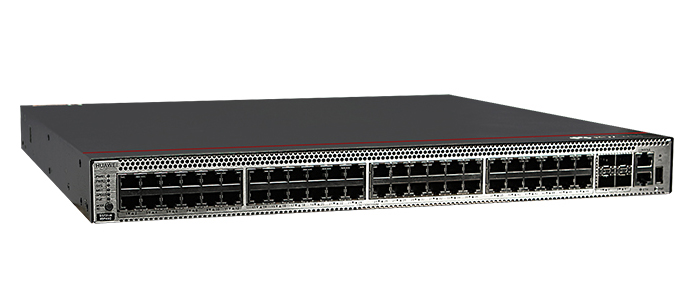

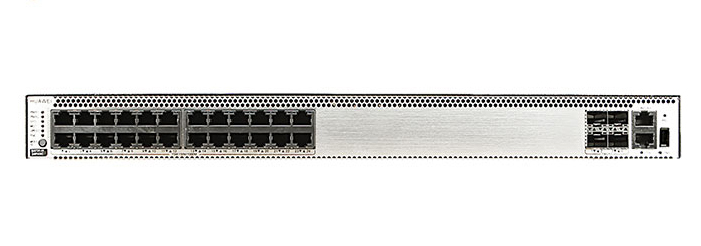
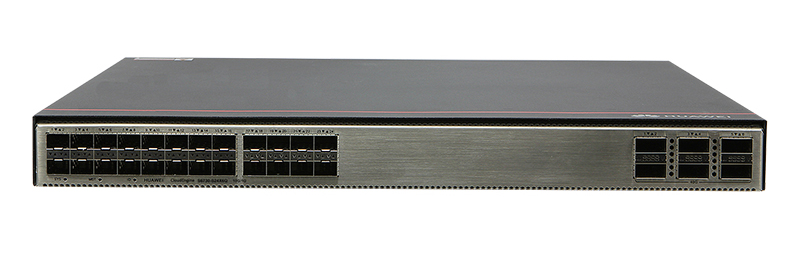

The Cisco Catalyst 9300 Series is one of the most popular and powerful switch platforms in the networking industry. Known for its scalability, performance, and advanced feature set, the Cisco 9300 offers a robust solution for enterprise networks. One of the key capabilities of the Cisco 9300 Series is stacking, which allows multiple switches to operate as a single unit, simplifying management and improving performance. In this configuration guide, we will explore the steps involved in configuring stacking for Cisco 9300 switches and highlight key considerations for achieving optimal performance.
Cisco 9300 stacking is a feature that enables you to combine multiple switches into a single logical unit, also referred to as a stack. This allows you to manage the stack as one device, with a single configuration file, a single IP address, and centralized management. Stacking simplifies network operations by making it easier to scale your network, increase bandwidth, and provide redundancy in the event of a failure.Cisco 9300 switches support the StackWise-480 technology, allowing up to 480 Gbps of stacking bandwidth. You can stack up to eight switches in a single stack, creating a highly scalable and resilient network architecture.
1. Simplified Management: Stacking consolidates the management of multiple switches into a single unit, reducing administrative overhead and configuration complexity.
2. Enhanced Redundancy: In a stack, if the master switch fails, another switch in the stack automatically assumes control, providing high availability.
3. Increased Bandwidth: Stacking increases the total available bandwidth by utilizing the combined switching capacity of all switches in the stack.
4. Scalability: Easily expand your network by adding additional switches to the stack without complex reconfigurations.
Ports: 8 x 1GbE PoE+ ports, 2 x 10GbE uplink ports
Stacking bandwidth: Up to 480 Gbps with StackWise-480 technology
Maximum stack members: Up to 8 switches in a stack
Switching capacity: 208 Gbps per switch
Redundancy: Stack-level redundancy with automated failover
Power options: Modular power supplies, with dual power supply support for redundancy
Before configuring Cisco 9300 stacking, ensure that the following prerequisites are met:
1. Hardware:All switches in the stack must be Cisco 9300 Series switches and have stacking cables.
2. Software:Ensure that all switches are running the same version of Cisco IOS software to avoid incompatibility issues.
3. Stacking Modules:Verify that the stacking modules are installed and connected properly. Each switch requires two stacking ports for redundancy.
4. Power Supply:Make sure all switches have sufficient power, ideally with redundant power supplies installed for high availability.
Follow these steps to configure Cisco 9300 stacking:
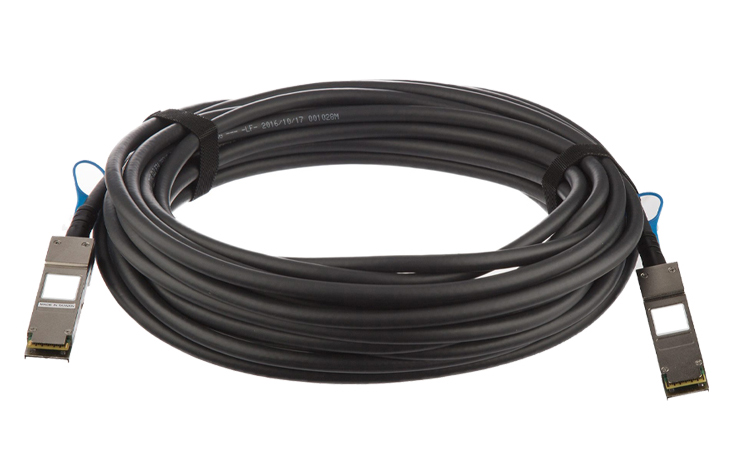
Before proceeding with the software configuration, ensure that the switches are physically connected using Cisco's StackWise-480 cables. Connect the stacking cables to the stacking ports on the back of each switch. A ring topology is recommended for redundancy, meaning each switch should be connected to two other switches in the stack.
After physically connecting the switches, verify that the stacking cables are functioning correctly. This can be done using the command:
show switch stack-ports
This command will display the status of the stacking ports. Ensure that all ports show as "Connected" to verify that the physical setup is correct.
Each switch in the stack should be assigned a priority level. The switch with the highest priority becomes the master switch, which manages the entire stack. To assign a priority level, use the following command on each switch:
switch <number> priority <value>
For example, if you want to assign switch 1 a priority of 15, use:
switch 1 priority 15
The priority level ranges from 1 to 15, with 15 being the highest priority. It is important to assign different priority values to each switch to ensure a clear master switch in case of a reboot or failure.
Once the switches are physically connected and priority levels are assigned, power on all the switches. The stack will automatically elect a master switch based on the assigned priority levels.
After powering on the switches, verify the stack configuration using the following command:
show switch
This command will display the stack member information, including the switch number, role (Master or Member), priority, and status. Ensure that all switches are listed and operational.
To save the configuration of the stack, use the command:
write memory
This ensures that the stacking configuration is saved and will persist through reboots or power cycles.
While the basic stacking setup is sufficient for most deployments, there are advanced configuration options that allow for further optimization of stack performance and redundancy.
Cisco Catalyst 9300 switches support StackPower technology, which allows power sharing among stack members. This ensures continuous operation in case one switch loses power, as the remaining switches can share their power supplies. To enable StackPower, use the following command:
power-stack
This will initiate power sharing between the switches in the stack. Verify the configuration with:
show power stack
Cisco 9300 stacks are designed for high availability. In case the master switch fails, the stack will automatically elect a new master switch based on the priority values. To test this failover mechanism, you can simulate a master switch failure by manually rebooting the master switch and observing the election of a new master.To reboot the master switch, use:
reload slot <switch_number>
After the master switch reboots, use the `show switch` command to verify that a new master has been elected.
Stacking issues can sometimes arise due to hardware or software misconfigurations. Below are some common troubleshooting tips:
If the stack ports are not showing as "Connected," ensure that the stacking cables are properly seated in the ports. Also, check for any damage to the cables.
If the switches are running different versions of Cisco IOS, they will not be able to form a stack. Verify the software version with:
show version
Ensure that all switches are running the same version and upgrade if necessary.
If the wrong switch is elected as the master, check the priority assignments using the `show switch` command. Adjust the priorities as needed, and reboot the stack for the changes to take effect.
Configuring stacking on Cisco Catalyst 9300 switches is a straightforward process that offers significant advantages in terms of scalability, management, and redundancy. By following the steps outlined in this guide, you can create a robust, high-performance stack that is easy to manage and maintain. Whether you're scaling up your network or seeking to improve redundancy, Cisco 9300 stacking is a powerful tool to achieve your networking goals.
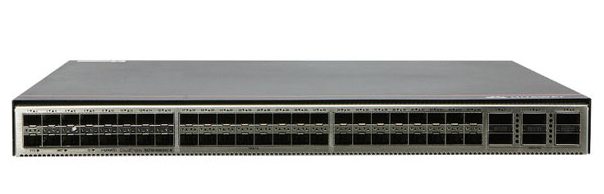
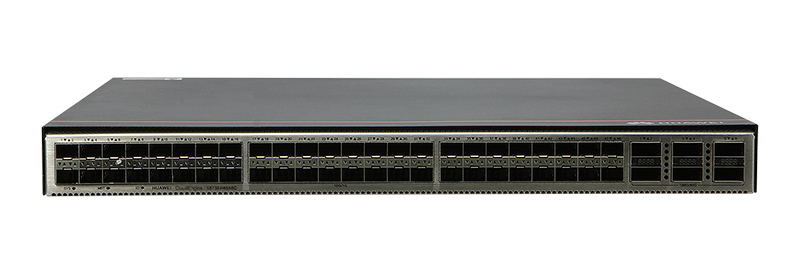
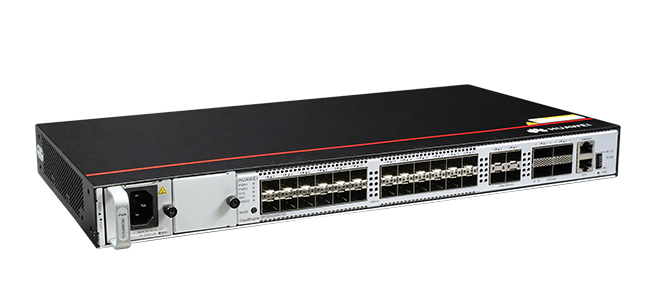
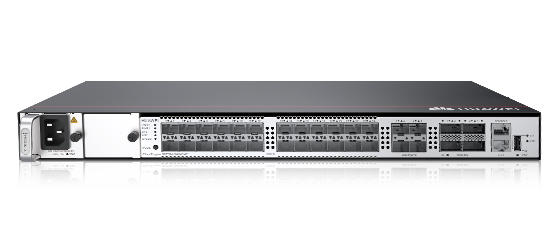
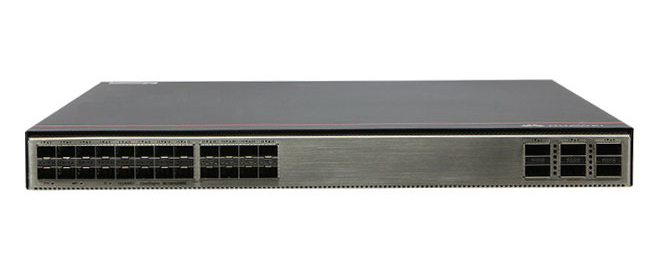
Cisco Catalyst 9300 Series Switches
For Cisco product list and quote, please visit: https://www.hi-network.com/categories/cisco or contact us at www.hi-network.com (Email: [email protected])
 Hot Tags :
Register Email now for Weekly Promotion Stock
100% free, Unsubscribe any time!
Add 1: Room 605 6/F FA YUEN Commercial Building, 75-77 FA YUEN Street, Mongkok KL, HongKong Add 2: Room 405, Building E, MeiDu Building, Gong Shu District, Hangzhou City, Zhejiang Province, China
Whatsapp/Tel: +8618057156223 Tel: 0086 571 86729517 Tel in HK: 00852 66181601
Email: [email protected]
 English
 Pусский
 Français
 Español
 Português